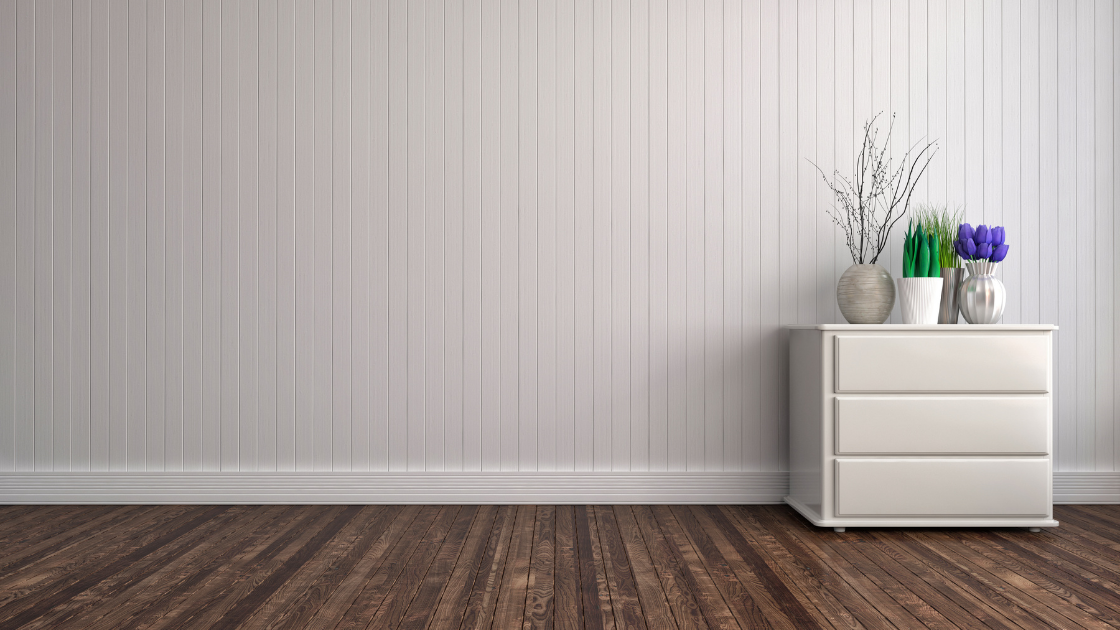
An easy way for a space to appear cohesive, inviting, and well-maintained is to keep the existing trim and baseboards in good condition. This is because the appearance and condition of baseboards and trim can greatly impact a home’s look and feel. In addition to regular cleaning, repairing, and painting these surfaces, caulking your baseboards is also a good idea.
In this article, we’re providing trusted contractor tips and easy instructions anyone can use to caulk baseboards properly.
Why Caulking Baseboards is Important
Caulking may not seem like an exciting topic, but its importance shouldn’t be underestimated. For interiors, in addition to maintaining pleasing aesthetics, caulking baseboards can help protect both the baseboards and the walls.
Prevent Water Damage
It helps ensure they won’t be damaged by moisture or become slanted from unequal floor levels and can prevent wall paint from peeling.
Avoid Rot and Mould Growth
Baseboard seams sealed with an appropriate caulking product can prevent water from seeping into walls and under floors. This helps to avoid possible rot and mould growth.
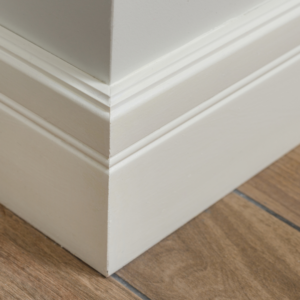
Improves Home’s Appearance
When caulked correctly, baseboards provide a clean and uniform appearance that enhances a space’s interior design and feel.
Steps to Properly Caulk Interior Baseboards 
Choose the right caulk
Before starting your baseboard caulking project, be sure to have the right caulking product at your disposal. Caulk is used in sealing several areas of a home’s interior and exterior. Therefore, there are several different types of caulk to choose from at your local hardware store. Caulk selection is dependant on a project’s individual needs.
Baseboard Caulk Selection
For interior baseboards, you’re going to want to use a type of caulk that is durable, flexible, seals out water, and supports the room’s aesthetics. We recommend using a latex-acrylic caulk with added silicone.
Latex-Acrylic-Silicone caulk products are available in different colours to better match flooring or baseboard paint colour. They adhere well to wood, MDF, and composite baseboards and have enough flexibility to minimize cracking.
Gather Your Supplies
Once you’ve selected the best caulk product for your project, it’s time to gather the rest of your supplies before getting started. A suggested materials list is as follows:
- Caulk
- Caulking gun
- Damp cloth/sponge
- Liquid caulk remover
- Cleaning supplies
- Vacuum/broom
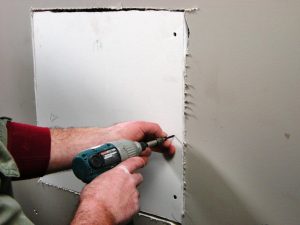
Prepare the Area for Caulking
Before adding caulk to any baseboard or trim, ensure the surface is prepared and ready to go.
Baseboards should always be clean and free of dust and debris before applying caulk. Old caulk, dust, debris, and any other contaminants may result in poor application of the caulk and reduce its ability to maintain a firm seal between the baseboard and wall/floor.
To clean the baseboards, be sure to wash them with a gentle soap. A solution of diluted vinegar works excellently as well. If any old caulk is on the baseboards, remove it carefully using a putty knife or a liquid caulk remover.
Wait until baseboard and wall surfaces are completely dry before moving on to the next step.
Load the Caulking Gun
Caulking guns are used to hold a tube of sealant as well as control its rate of flow. Follow the directions supplied with your caulk gun for installing the tube. Next, using a utility knife, carefully cut the tip of the tube at a 45-degree angle. Cut about ⅛ to ¼ inch away from the top of the tube.
You are now ready to start caulking baseboards.
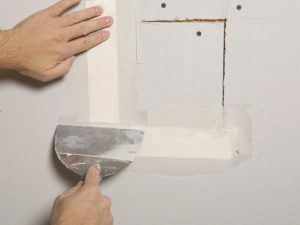
Apply the Caulk
Practice First
If you haven’t applied caulk before, hone your application skills on a piece of paper or an old piece of baseboard. Hold the gun at a 45-degree angle. Gently squeeze the trigger to dispense the caulk. With the trigger engaged, run the tube’s tip along the length of the paper while distributing a consistent thickness of caulk across the line. Keep practicing until your caulk lines begin to appear consistent from start to finish.
Caulking Baseboards
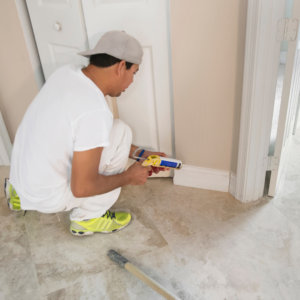 Once you’re comfortable handling a caulking gun, it’s time to apply the sealant to your baseboards. Starting at a corner or wall edge, spread the caulk on the top of your baseboard as you did during the practice runs. Make the line as long as you can comfortably maintain consistent pressure and speed.
Smooth the Bead Line
Before the sealant has a chance to dry, it’s time to smooth the bead line you just dispensed on top of the baseboard. To do this, take your index finger and run it along the caulk, smoothing it between the top of the baseboard and the wall. Use a damp sponge or cloth to wipe away any excess caulk from your hand and the baseboard.
Repeat these steps until you have finished caulking your baseboards.
Find Expert Finishing Help from Finest Finish
Baseboard care and maintenance may not be your favourite way to spend an afternoon, but it is important to keep your home looking and performing at its best. Contact our finishing professionals for professional help that will get your baseboards in tip-top shape for a reasonable price. Located in the Greater Victoria area, we are trained in all aspects of carpentry finishing.