Drywall, often referred to as gypsum board or sheetrock, is a staple in modern construction due to its versatility, cost-effectiveness, and ease of installation. Whether you’re a seasoned contractor or a DIY enthusiast, mastering the art of drywall installation, drywall finishing, and drywall mudding is essential for achieving professional-looking results. In this guide, we’ll take you through the step-by-step process, providing tips and techniques to ensure your drywall projects are a success.
Understanding Drywall
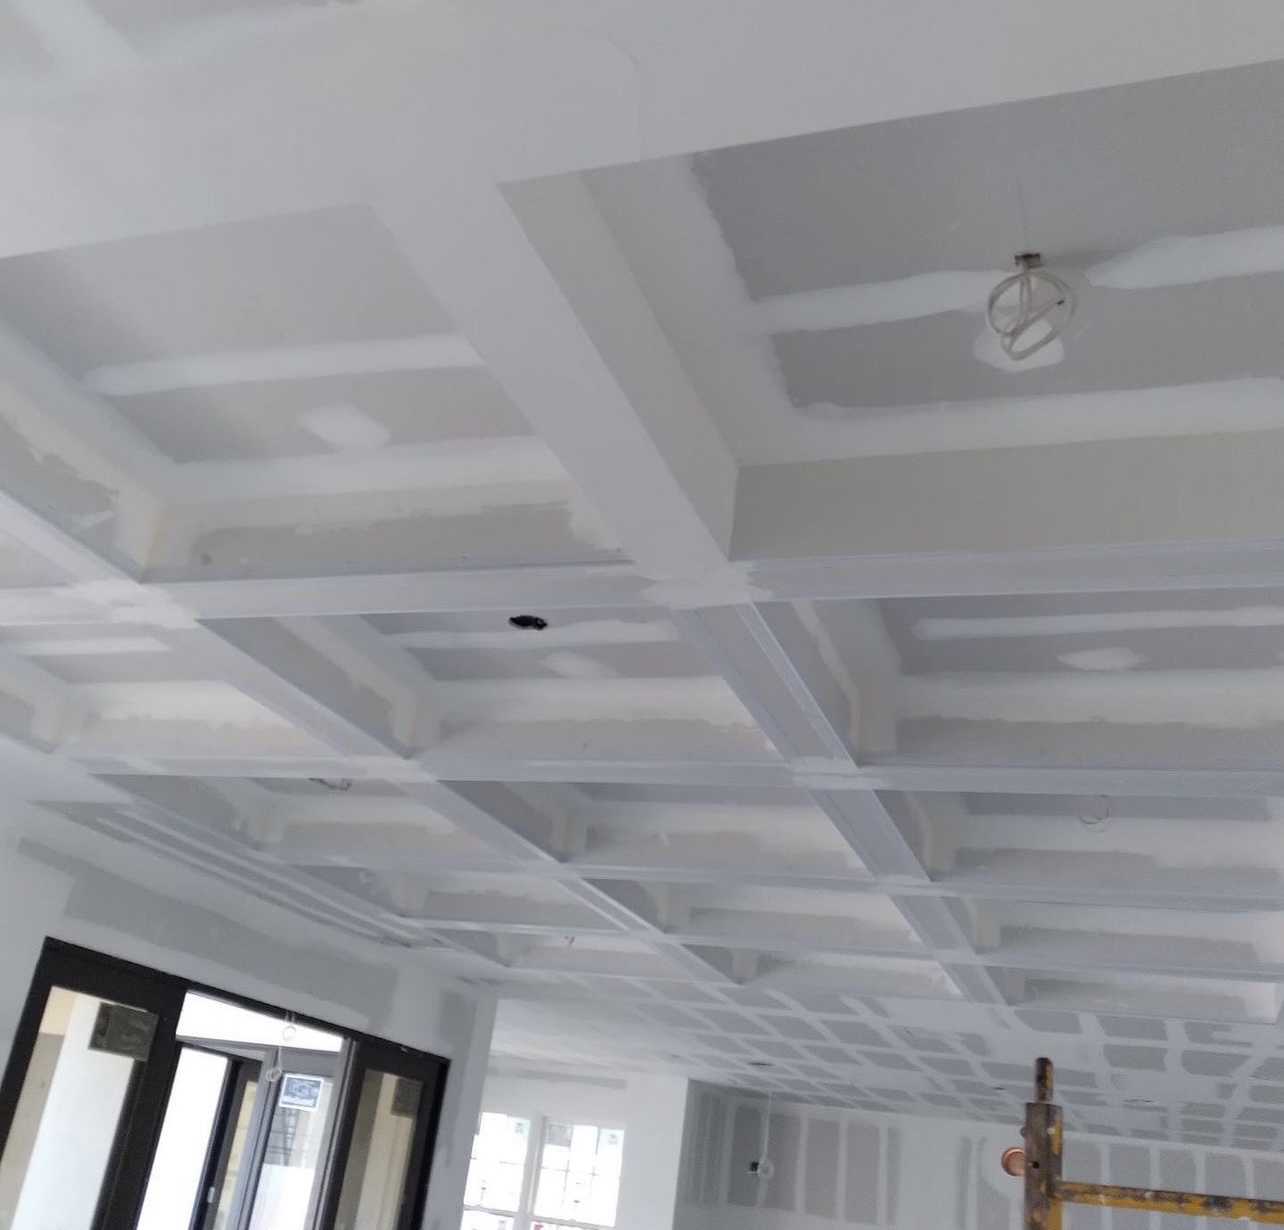
Drywall Basics:
Drywall is composed of a gypsum core sandwiched between two sheets of heavy paper. It comes in various sizes and thicknesses, with standard sheets measuring 4×8 feet. There are also specialized types of drywall, such as moisture-resistant, fire-resistant, and soundproofing varieties.
Why Use Drywall?
- Cost-Effective: Drywall is relatively inexpensive compared to other wall-building materials.
- Ease of Installation: With the right tools and techniques, drywall can be installed quickly.
- Versatility: It can be used for walls, ceilings, and even to create architectural features like arches and eaves.
Tools and Materials for Drywall Installation
Before diving into the installation process, ensure you have the following tools and materials:
- Drywall sheets
- Utility knife
- Drywall saw
- T-square
- Drywall screws or nails
- Screw gun or hammer
- Drywall tape
- Joint compound (drywall mud)
- Drywall knife (various sizes)
- Sanding block or drywall sander
- Measuring tape
- Level
Step-by-Step Drywall Installation
1. Preparation:
Start by measuring the area where you will install the drywall. Use a T-square to mark cutting lines on the drywall sheets. Score the drywall along these lines with a utility knife, then snap the sheet along the scored line for a clean break. Use a drywall saw for any necessary cuts around fixtures or outlets.
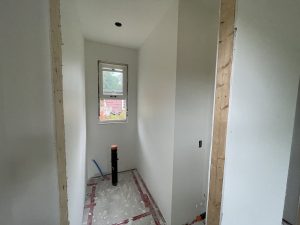
2. Hanging Drywall:
Begin with the ceiling if you’re working on an entire room. This provides a sturdy base for the wall sheets. Align the drywall sheet with the ceiling joists and attach it using drywall screws or nails, spacing them about 12 inches apart. Ensure the screws are slightly recessed without breaking the paper surface.
For walls, start at the top and work your way down. Butt the drywall sheets tightly against each other, and secure them to the studs. Stagger the joints to increase stability and reduce the likelihood of cracks.
3. Drywall Mudding:
Taping:
Apply drywall tape over the seams between sheets. Use paper tape for flat seams and mesh tape for inside corners. Press the tape firmly to ensure it adheres properly.
First Coat:
Using a 6-inch drywall knife, apply a thin layer of joint compound over the taped seams. Smooth it out to eliminate air bubbles and ensure even coverage. Let the compound dry completely, typically 24 hours.
Second Coat:
Once the first coat is dry, use a wider knife (8-10 inches) to apply a second coat of joint compound, feathering the edges to blend into the drywall. This coat should be slightly thicker than the first.
Third Coat:
Apply a final coat using a 12-inch knife. This coat should be thin and extend beyond the previous layer to ensure a seamless transition. After it dries, inspect for any imperfections and apply additional compound if necessary.
4. Sanding:
Sanding is crucial for achieving a smooth, professional finish. Use a sanding block or drywall sander to smooth out the dried joint compound. Start with a coarser grit and finish with a finer grit to ensure a smooth surface. Be sure to wear a mask and goggles to protect yourself from dust.
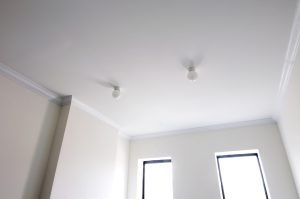
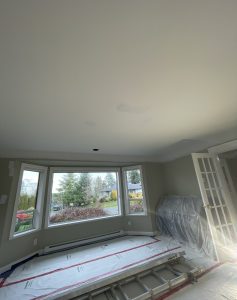
5. Priming and Painting:
Before painting, apply a coat of primer to the drywall. This helps to seal the surface and provides a uniform base for paint. Once the primer is dry, apply your chosen paint color in two to three coats, allowing each coat to dry completely before applying the next.
Advanced Drywall Finishing Techniques
For those looking to take their drywall finishing to the next level, consider these advanced techniques:
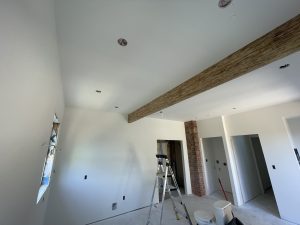
1. Textured Finishes:
Adding texture to your drywall can enhance the aesthetic appeal of a room. Techniques such as knockdown, orange peel, or popcorn texture can be applied using a specialized spray gun or by hand with a trowel.
2. Curved Drywall Installation:
Curved walls and arches add a unique architectural element to any space. To install drywall on a curve, use flexible drywall or wet the back of standard drywall to make it more pliable. Attach the drywall to the curved framing, and secure it with screws.
3. Soundproofing:
For rooms requiring sound insulation, such as home theaters or recording studios, use soundproof drywall or add an additional layer of standard drywall with a soundproofing membrane between layers.
Common Drywall Problems and Solutions
1. Cracks and Holes:
Cracks and holes are common issues in drywall. For small cracks, use a utility knife to create a V-shaped groove along the crack, then fill it with joint compound. For larger holes, cut out a square around the damaged area, insert a new piece of drywall, and secure it with tape and joint compound.
2. Water Damage:
Water-damaged drywall needs to be replaced to prevent mold growth. Cut out the damaged section, install a new piece of drywall, and finish with tape and joint compound. Consider using moisture-resistant drywall in areas prone to humidity.
3. Nail Pops:
Nail pops occur when drywall nails push through the surface. Remove the popped nail, drive a new screw or nail nearby, and cover the area with joint compound.
Tool and Product Reviews
1. Drywall Tools:
Investing in quality drywall tools can make a significant difference in your installation process. Look for tools like the DEWALT Screw Gun for efficient screwing, or the Festool PLANEX Drywall Sander for a dust-free sanding experience.
2. Drywall Compounds:
Choosing the right joint compound is crucial for a smooth finish. Pre-mixed compounds are convenient and easy to use, while setting-type compounds harden quickly and are ideal for larger projects.
Final Tips for Successful Drywall Projects
- Measure Twice, Cut Once: Always double-check your measurements to avoid costly mistakes.
- Work in Small Sections: When applying joint compound, work in manageable sections to ensure even coverage.
- Keep it Clean: Clean your tools after each use to prevent compound buildup and ensure a smooth application.
- Practice Patience: Drywall installation and finishing take time. Allow each coat of joint compound to dry fully before sanding or applying additional layers.
By mastering these drywall installation techniques, you can achieve professional-quality results in your construction or renovation projects. Whether you’re tackling a small repair or a large-scale installation, the key to success lies in careful preparation, attention to detail, and the right tools and materials. Happy drywalling!