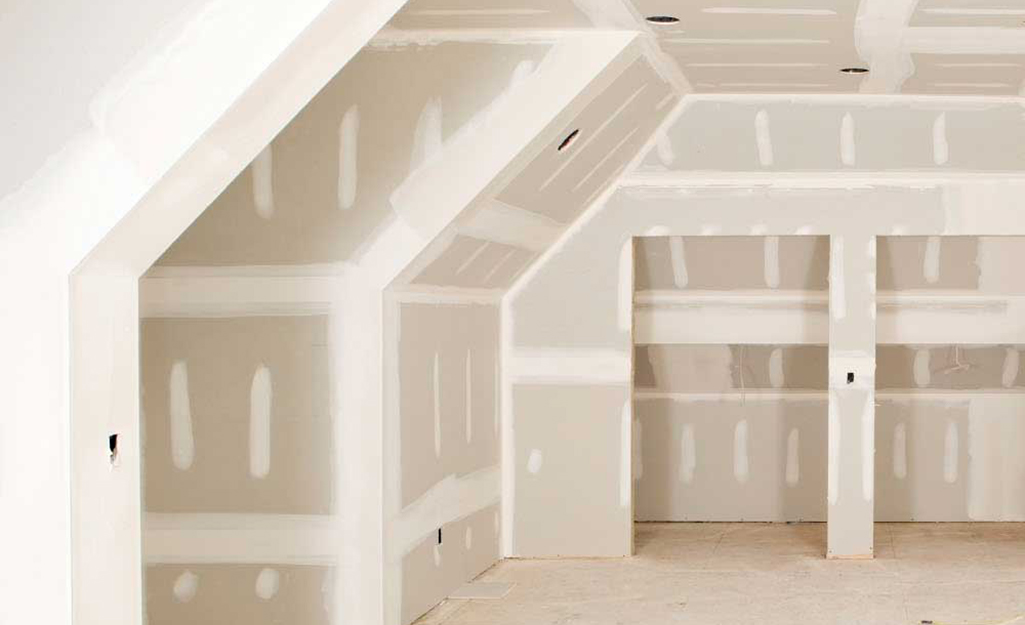
From Textured to Smooth: The Best Drywall Finishing Techniques
Textured walls and ceilings were once a popular design choice, but times have changed. Today’s homeowners and builders prefer smooth, seamless surfaces that provide a clean and modern aesthetic. Whether you’re dealing with outdated popcorn ceilings, knockdown textures, or heavy stucco, the transition from textured to smooth drywall requires the right approach. At Finest Finish, we specialize in professional drywall finishing techniques in Victoria, ensuring a flawless result that enhances your home’s beauty and value.
Why Remove Textured Surfaces?
Textured ceilings and walls can make a home look dated and even reduce property value. They also pose challenges when it comes to lighting, as textured surfaces cast shadows that can make a room feel darker. Furthermore, older textured surfaces may contain asbestos, which requires professional testing and safe removal.
By opting for a smooth finish, you achieve a modern, elegant look while also making future maintenance, painting, and repairs much easier. Smooth drywall surfaces create a fresh canvas for interior design, whether you prefer a minimalist aesthetic or a bold accent wall.
Step-by-Step Guide to Achieving a Smooth Finish
The key to a professional drywall finishing job is a combination of proper preparation, expert application of materials, and meticulous sanding. Here’s how Finest Finish ensures a smooth, flawless result.
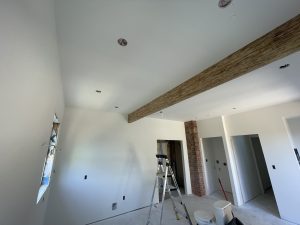
1. Surface Preparation
Before any work begins, it’s essential to assess the condition of the existing surface. This includes:
-
Checking for cracks, water damage, or loose drywall.
-
Testing for asbestos in older popcorn ceilings.
-
Removing dust, dirt, and debris to create a clean working area.
Once the necessary safety precautions are taken, the textured surface is scraped down using the appropriate tools. For light textures, a wet-scraping method may be used, while heavy textures require a more aggressive approach.
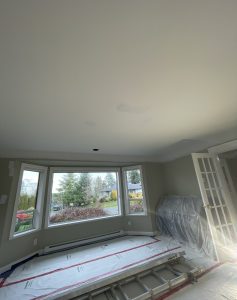
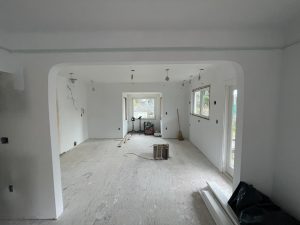
2. Applying a Skim Coat for a Flawless Surface
A skim coat is the secret to achieving a perfectly smooth surface. This process involves applying a thin layer of joint compound over the entire wall or ceiling to fill in any imperfections left behind by texture removal.
Best practices for a professional skim coat:
-
Use high-quality joint compound for better adhesion and durability.
-
Apply thin, even layers to prevent excessive buildup.
-
Use a wide drywall knife or trowel for consistent coverage.
-
Allow each coat to dry fully before applying the next layer.
Most projects require at least two to three skim coats to completely smooth out the surface. The more even the application, the less sanding will be needed later.
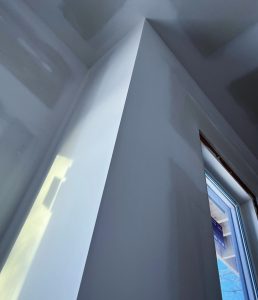
3. Sanding for a Perfectly Smooth Finish
Once the skim coat is dry, sanding is the next critical step. Finest Finish uses a combination of hand sanding and power sanding techniques to eliminate ridges, bumps, and tool marks.
Tips for effective sanding:
-
Use fine-grit sandpaper to avoid damaging the drywall.
-
Sand in a circular motion to create a seamless blend.
-
Use a sanding pole or dustless sander to reduce airborne dust.
-
Check the surface under proper lighting to spot any imperfections.
A well-sanded wall or ceiling will feel smooth to the touch and look flawless under paint or primer.
4. Priming for a Uniform Finish
Before painting, the newly smoothed drywall must be properly primed. Primer helps seal the surface, ensures even paint absorption, and enhances the durability of the finish.
Why priming is important:
-
It prevents the joint compound from absorbing too much paint.
-
It creates a uniform surface, eliminating uneven color variations.
-
It improves paint adhesion, reducing peeling and cracking over time.
Using a high-quality primer designed for drywall ensures the best results, especially for high-end finishes.
5. Painting for the Final Touch
Once the primer is dry, it’s time for paint. Homeowners often choose satin, eggshell, or matte finishes for walls and ceilings, depending on the look they want to achieve.
Tips for a professional paint job:
-
Use two coats of paint for full coverage.
-
Apply paint with a high-quality roller for a streak-free finish.
-
Use a brush for edges and corners to ensure precision.
-
Allow ample drying time between coats for best results.
Why Hire a Professional for Drywall Finishing?
While DIY enthusiasts may attempt textured surface removal and skim coating, achieving a flawless finish requires skill and experience. Professionals like Finest Finish in Victoria ensure:
-
Efficient and safe removal of old textures, including potential asbestos concerns.
-
High-quality drywall finishing using top-tier materials and techniques.
-
A dust-free, mess-free process, thanks to specialized equipment and careful execution.
-
Long-lasting results that enhance your home’s aesthetic appeal and resale value.
The Finest Finish Difference
At Finest Finish, we take pride in delivering exceptional drywall finishing services. Whether you’re modernizing your home, preparing to sell, or simply upgrading your interior, we guarantee a smooth, flawless finish tailored to your needs. Our expertise in skim coating, drywall installation, and professional finishing ensures that every project meets the highest industry standards.
Final Thoughts
Transitioning from textured to smooth drywall is one of the most impactful upgrades you can make in your home. With expert techniques like skim coating, sanding, and professional priming, the transformation is seamless and long-lasting. For homeowners in Victoria looking for top-tier drywall services, Finest Finish is the go-to choice for a polished, modern look.
If you’re ready to say goodbye to outdated textures and hello to smooth perfection, contact Finest Finish today for a consultation!