When it comes to large residential projects, drywall installation is an essential part of the construction process. Whether it’s a custom home or a high-end residential development, drywall forms the backbone of the building’s interior walls and ceilings. Professional drywall installation goes beyond simply hanging boards. It involves meticulous planning, skilled labor, and an understanding of the unique requirements of large, complex homes.
At Finest Finish, we specialize in delivering high-quality drywall solutions for large residential projects in Victoria and surrounding areas. This guide will take you through the step-by-step process, from framing to finishing, to give you a clear understanding of what goes into creating the perfect interior for your home.
1. The Foundation: Framing and Drywall Layout
Before any drywall can be installed, the framing of the home must be completed. The framing consists of the wooden or metal skeleton that gives the structure its shape and supports the drywall sheets. Proper framing is crucial, as it ensures that the drywall will be level, secure, and durable.
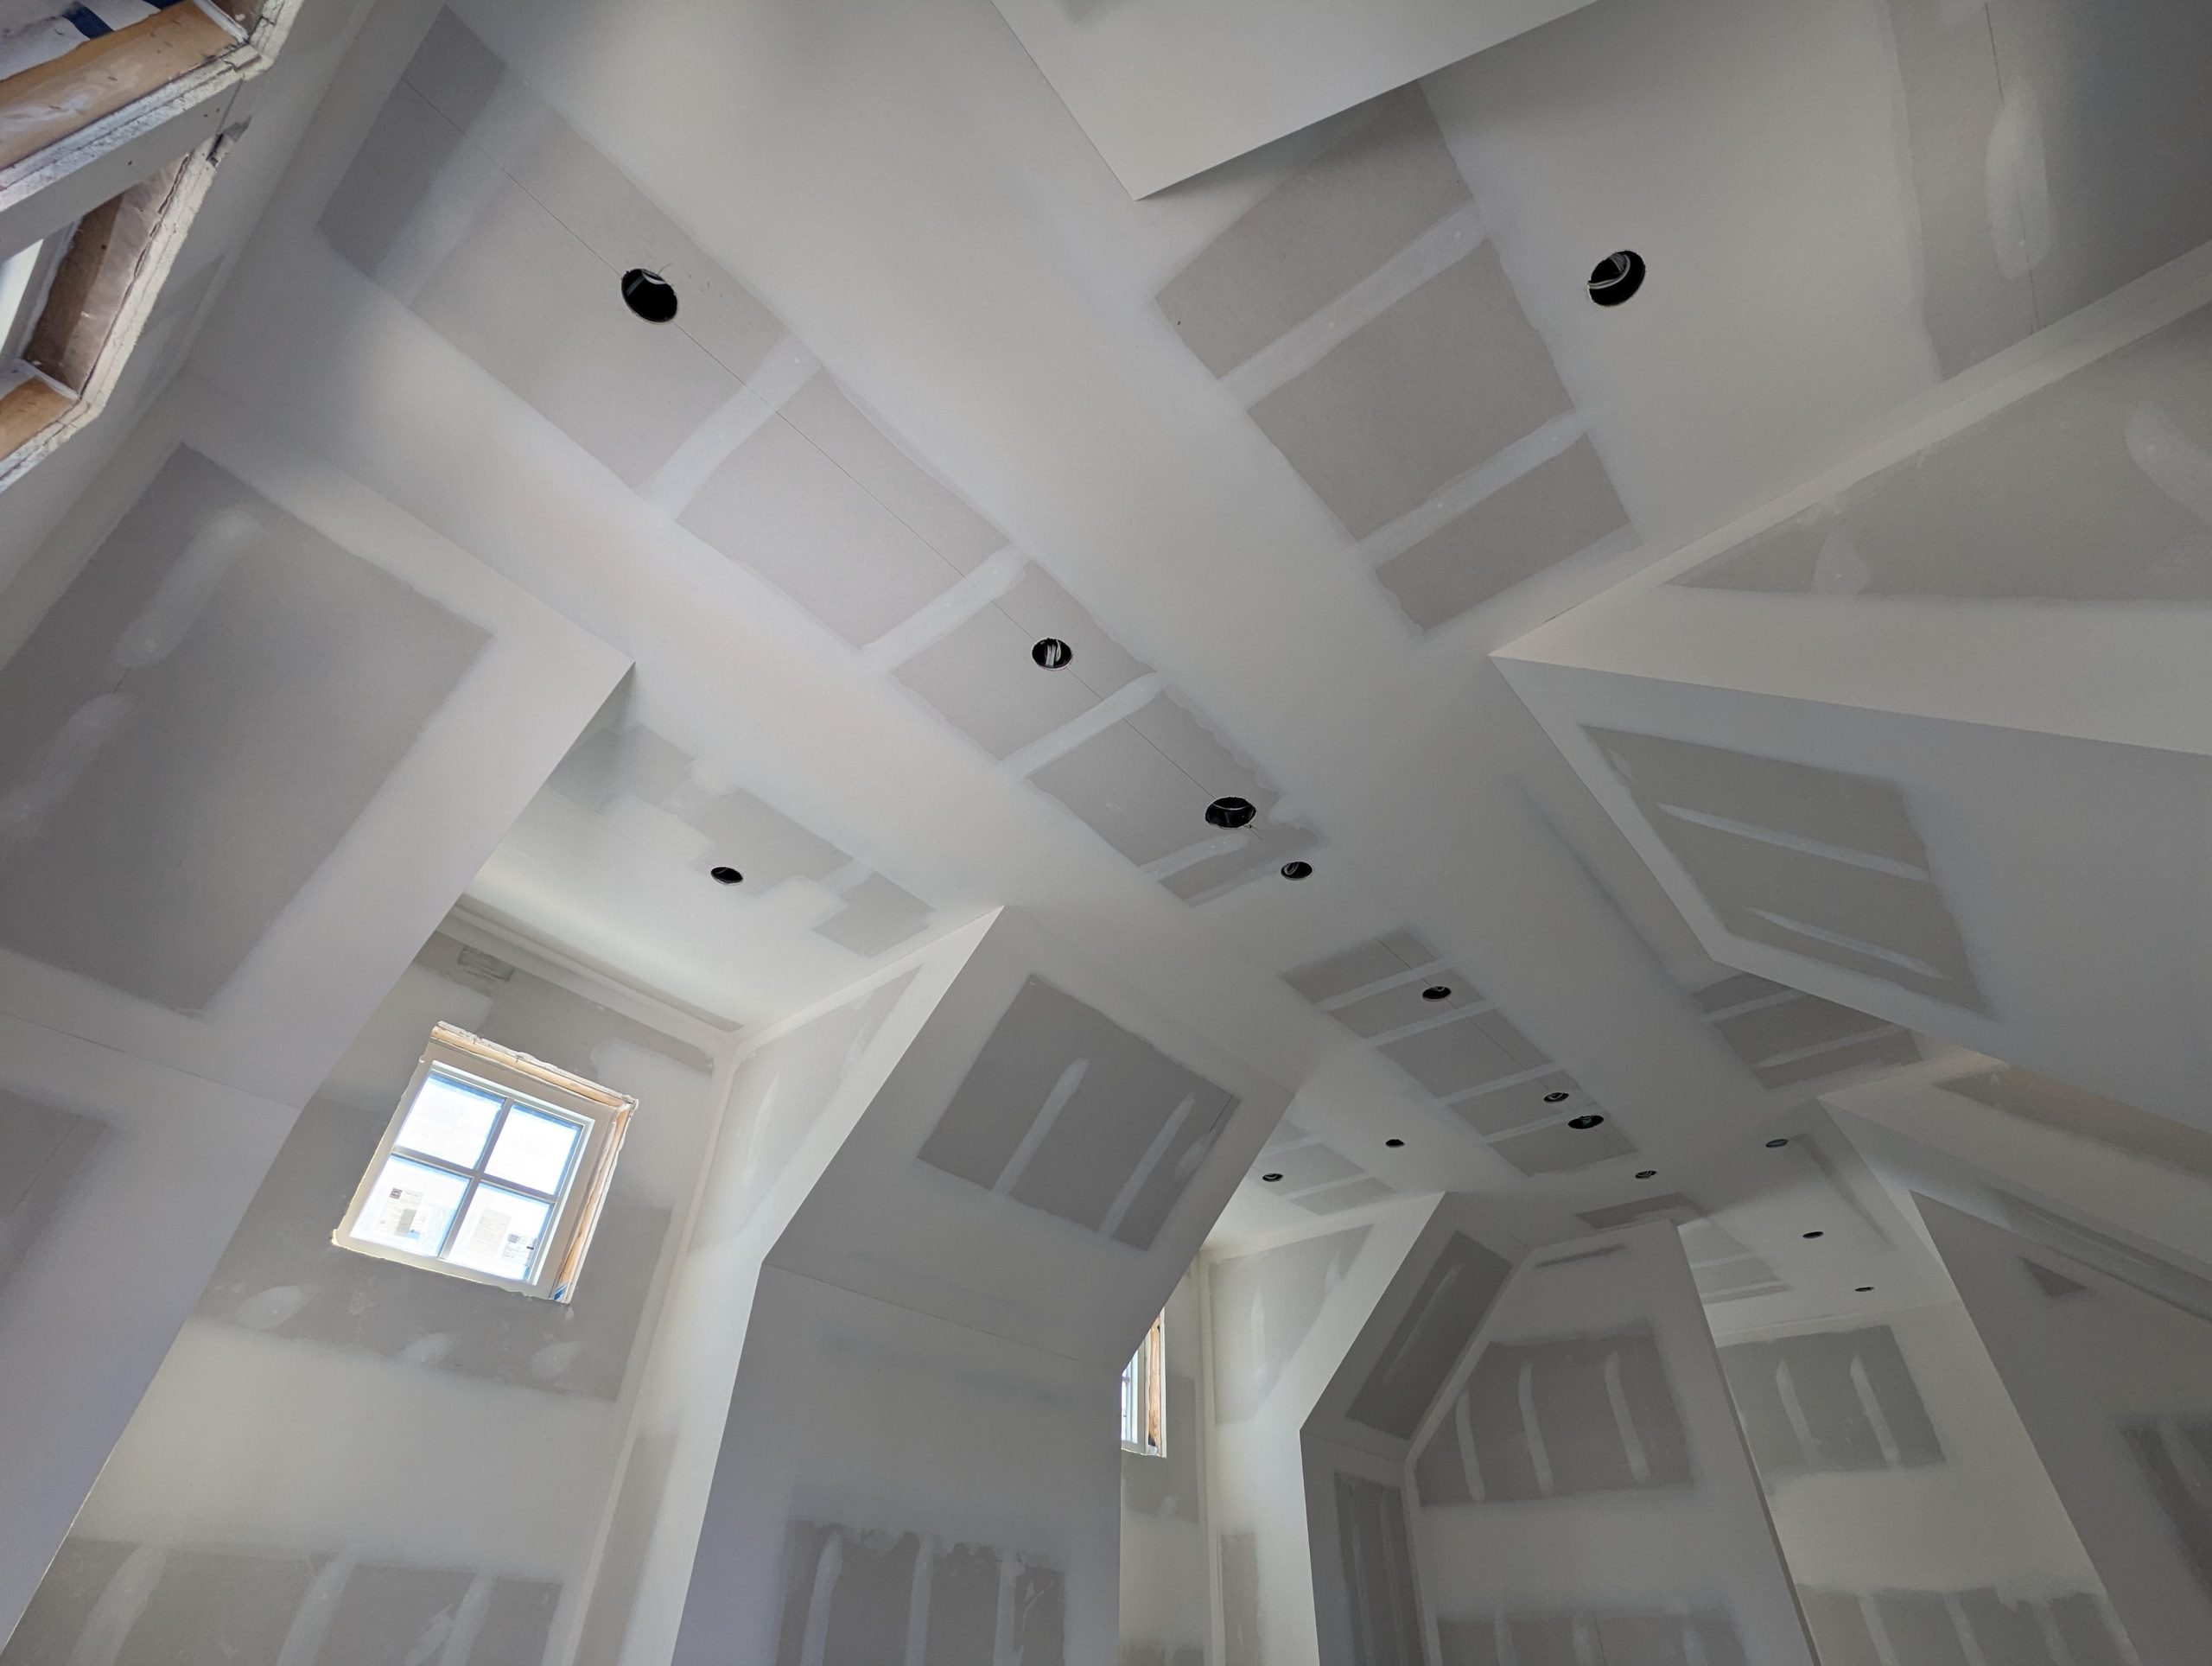
For large residential projects, precision in framing is particularly important. Large homes often feature vaulted ceilings, expansive wall surfaces, and custom architectural elements. These require careful planning to ensure that the framing will accommodate all of the necessary drywall installation.
Key considerations in the framing stage:
- Wall alignment: Walls must be plumb (perfectly vertical) to ensure the drywall will sit flush against the studs.
- Ceiling height: Custom homes may have unique ceiling heights that require larger drywall panels or special installation techniques.
- Electrical and plumbing: Drywall must be cut around outlets, pipes, and other fixtures, so the framing needs to leave space for these systems without compromising the wall’s structural integrity.
At Finest Finish, we work closely with builders to ensure that the framing is ready for the drywall stage, making sure everything is aligned for a smooth installation process.
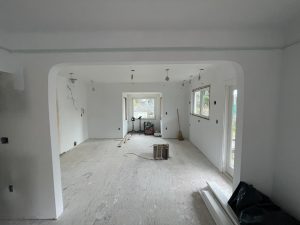
2. Hanging the Drywall: Professional Installation Techniques
Once the framing is complete, it’s time to move on to the actual hanging of the drywall sheets. In large residential projects, the scale and complexity of the job make professional drywall installation essential.
Key steps in drywall hanging:
Measuring and cutting: Drywall panels need to be measured and cut to fit the exact dimensions of each wall and ceiling space. For large custom homes, this often involves complex cuts around architectural features like archways, windows, and skylights.
Board positioning: Drywall panels come in standard sizes, but for large residential spaces, we often use larger panels to reduce the number of seams. Panels are typically hung horizontally on walls to ensure fewer joints, improving both aesthetics and durability.
Securing the panels: Drywall sheets are secured to the studs using drywall screws or nails. This step requires precision to ensure the drywall is firmly attached without damaging the surface or creating weak spots.
Joints and seams: Seams between drywall panels are inevitable, but their placement and treatment are crucial to the overall quality of the installation. Our team at Finest Finish makes sure seams are staggered and minimal to create a smooth, seamless appearance.
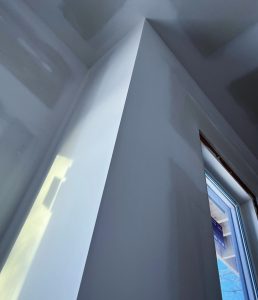
3. Taping and Mudding: Creating a Smooth Surface
After the drywall is hung, the next stage is taping and mudding. This is where the seams between the panels are covered with drywall tape and joint compound (also known as mud). The goal is to create a smooth, even surface that is ready for painting or other finishes.
For large residential projects, where walls and ceilings often span great distances, achieving a flawless surface can be a challenge. This is where professional drywall finishing makes all the difference.
Steps in the taping and mudding process:
Applying the tape: Drywall tape is applied over the seams between panels. For large areas, we may use different types of tape, such as paper or mesh tape, depending on the specific needs of the project.
First coat of joint compound: A thin layer of joint compound is applied over the tape to create a smooth transition between panels. This is followed by a second and third coat to fully blend the seams and cover any imperfections.
Sanding: Once the mud has dried, the surface is sanded to remove any bumps or ridges. For large residential projects, this step requires careful attention to detail to ensure that the walls are completely smooth and free of flaws.
At Finest Finish, our skilled professionals take the time to get this step right, ensuring that your walls are perfectly prepped for the next stage: texturing and painting.
4. Texturing: Adding Character to Your Walls
While some homeowners prefer smooth, flat walls, others choose to add texture to give their walls a unique look and feel. Texturing is a popular option in large custom homes, where it can be used to create visual interest and complement the home’s architectural style.
There are several common drywall textures, each with its own application process:
Knockdown: This texture involves applying joint compound to the wall and then “knocking down” the peaks to create a flat, slightly textured surface. It’s a popular choice for large residential homes because it hides imperfections while adding subtle character.
Orange Peel: This technique creates a fine, bumpy surface that resembles the skin of an orange. It’s often used in modern homes for a sleek, contemporary look.
Popcorn: While this texture is more commonly used on ceilings, it can be a cost-effective option for large homes. However, many homeowners are now opting to remove popcorn ceilings in favor of more updated styles.
At Finest Finish, we offer a variety of texturing options to suit your home’s design. Our experts can help you choose the best texture to match the overall aesthetic of your space.
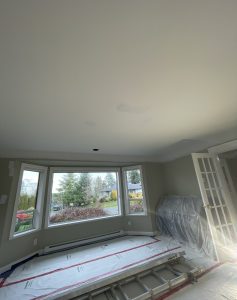
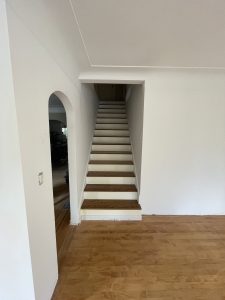
5. Priming and Painting: The Final Touches
Once the drywall is taped, mudded, and textured (if desired), the final step is priming and painting. This is the stage where your walls and ceilings come to life, and the hard work of the drywall process becomes truly visible.
For large residential projects, professional painting is key to achieving a flawless finish. Proper priming is essential to ensure that the paint adheres evenly and lasts for years to come.
Steps in the priming and painting process:
Priming: A coat of primer is applied to the drywall to seal the surface and create a smooth base for the paint. This step is crucial, especially for new drywall, which tends to absorb paint unevenly if not properly primed.
Painting: After the primer has dried, the final coat of paint is applied. For large homes, this often involves coordinating multiple colors and finishes to achieve the desired look.
At Finest Finish, we work with skilled painters to ensure that the final result is as perfect as possible. Whether you prefer a modern, minimalist look or a more traditional, textured finish, our team will help you achieve the exact style you’re aiming for.
6. Soundproofing and Fire Resistance: Important Considerations
In large residential homes, drywall does more than just create walls and ceilings; it can also play a critical role in soundproofing and fire resistance. High-end custom homes often require additional layers of drywall, special insulation, or even soundproof drywall panels to create quiet, comfortable living spaces.
Fire-resistant drywall is another key consideration, especially for large homes with multiple levels. This type of drywall is designed to slow the spread of fire, providing additional time for evacuation in case of an emergency.
At Finest Finish, we offer a range of soundproofing and fire-resistant drywall solutions to meet the needs of custom home projects in Victoria.
Conclusion: The Value of Professional Drywall Installation for Large Residential Projects
The drywall process, from framing to finishing, is one of the most important aspects of any large residential construction project. While it may seem like a straightforward task, achieving a flawless, long-lasting result requires the expertise of professional drywall installers like Finest Finish.
By carefully coordinating each step of the process—from the initial framing to the final paint application—we ensure that your custom home’s walls and ceilings are not only beautiful but also durable, functional, and tailored to your exact needs. If you’re planning a large residential project in Victoria, trust the professionals at Finest Finish to deliver the quality you deserve.