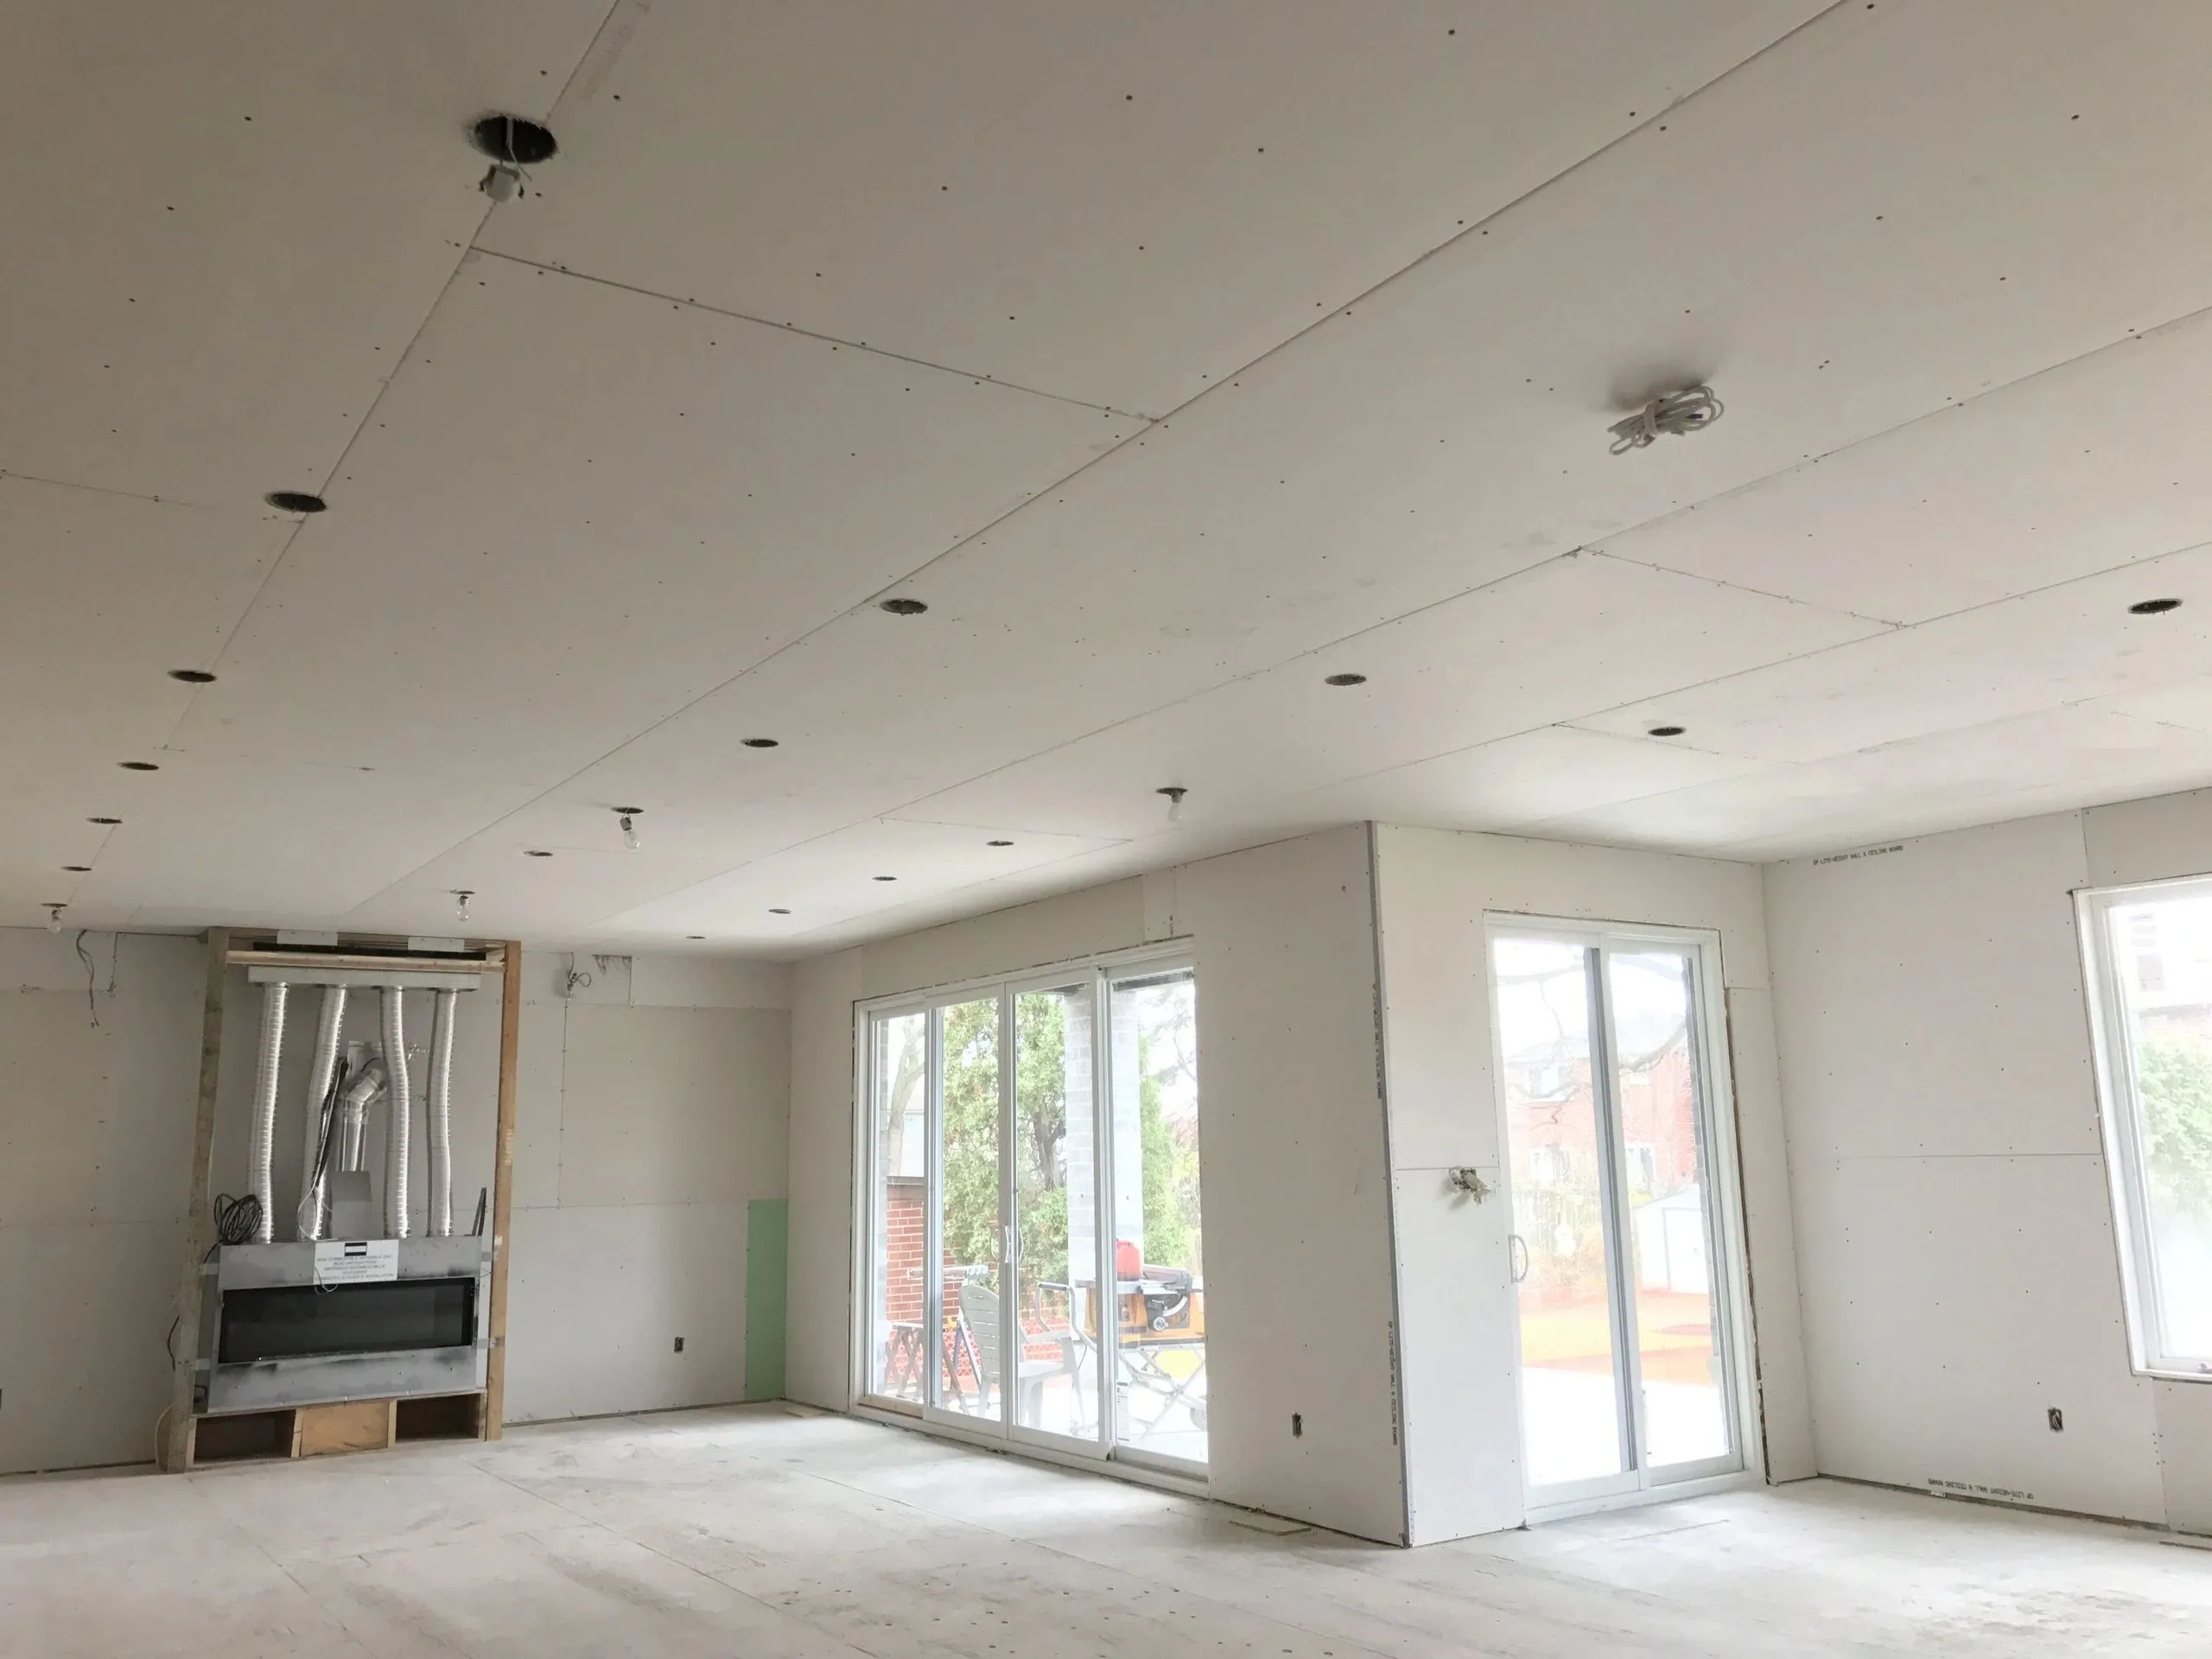
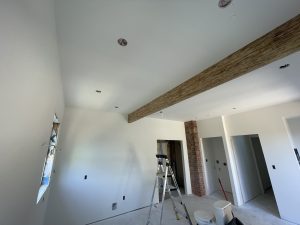
High-end residential projects require a higher level of craftsmanship, attention to detail, and the use of premium materials. These projects often come with unique architectural features, custom designs, and discerning clients who expect perfection. In this blog post, we will explore the unique challenges and opportunities associated with drywall installation in luxury homes. From planning and preparation to execution and finishing touches, we’ll cover the essential techniques and best practices that will ensure your work meets the high standards expected in these prestigious projects.
Understanding Client Expectations:
Initial Consultation:
The foundation of a successful high-end drywall project is understanding the client’s vision. This involves an in-depth consultation to discuss the client’s preferences, specific requirements, and desired outcomes. It’s crucial to listen actively and ask detailed questions about their expectations, including:
- Design Aesthetics: Understanding the overall design theme, whether it’s modern, traditional, or eclectic.
- Custom Features: Identifying any custom elements like built-in shelving, recessed lighting, or specialty textures.
- Functionality Needs: Discussing practical aspects such as soundproofing, moisture resistance, and thermal insulation.
Setting Clear Expectations:
After the initial consultation, provide a detailed scope of work that outlines the project timeline, budget, and specific deliverables. This not only sets clear expectations but also helps in avoiding misunderstandings later. Ensure the client understands the quality and craftsmanship that will be delivered, emphasizing the use of premium materials and advanced techniques.
Selecting Premium Materials:
High-Quality Drywall:
Choosing the right type of drywall is critical for high-end projects. Standard drywall may not meet the performance or aesthetic demands of luxury homes. Consider using:
- Fire-Resistant Drywall (Type X): Ideal for enhancing safety in areas like kitchens and garages.
- Soundproof Drywall: Perfect for home theaters, bedrooms, and offices to reduce noise transmission.
- Moisture-Resistant Drywall (Green Board): Essential for bathrooms, kitchens, and basements to prevent mold growth.
- Ultra-Light Drywall: Easier to handle and install, reducing strain and improving efficiency.
Finishing Materials:
The quality of finishing materials significantly affects the final appearance. Use premium joint compounds, tapes, and corner beads to ensure a smooth, durable finish. Additionally, select high-quality primers and paints that complement the drywall work and provide a luxurious look.
Precision in Measurements and Cutting:
Accurate Measurements:
Precision is paramount in high-end projects. Use advanced tools like laser levels and digital measuring devices to achieve exact measurements. Double-check dimensions before making any cuts to avoid errors that can compromise the final look.
Cutting Techniques:
Accurate cutting is essential for a seamless installation. Utilize specialized cutting tools for clean, precise cuts. Techniques like scoring and snapping can help achieve straight edges, while more complex shapes may require the use of a rotary tool or jigsaw.
Installation Techniques:
Hanging Drywall:
Proper spacing and fastening are crucial to prevent sagging and ensure stability. When hanging drywall, consider:
- Screw Spacing: Place screws 12 inches apart on walls and 8 inches apart on ceilings.
- Adhesive Use: Apply construction adhesive along the studs to provide additional support and reduce screw pops.
- Butt Joints: Stagger butt joints between rows to avoid creating weak points.
Joint Treatment:
Seamless joints are a hallmark of high-quality drywall work. To achieve this:
- Apply Joint Tape: Use paper tape for stronger joints, especially in high-stress areas. Embed the tape in a thin layer of joint compound.
- Layering Compound: Apply multiple layers of joint compound, feathering out each layer further to blend with the surrounding drywall.
- Sanding: Sand each layer after it dries, starting with a medium-grit sandpaper and finishing with a fine-grit for a smooth surface.
Addressing Architectural Features:
Custom Ceilings and Walls:
High-end homes often feature unique architectural elements. Address these with:
- Flexible Drywall: Use flexible drywall for curved surfaces, like arches and barrel ceilings.
- Custom Framing: Adjust the framing to accommodate unique features, ensuring a solid base for drywall installation.
- Detailed Planning: Plan the installation around architectural details to minimize cutting and ensure clean lines.
Built-in Features:
Seamlessly integrating drywall with built-in features like shelving, niches, and lighting requires careful planning:
- Precision Cutting: Cut drywall accurately to fit around built-in elements.
- Reinforcement: Use additional framing or backing to support heavy features.
- Seamless Finishing: Ensure joints around built-ins are finished to the same high standard as the rest of the wall.
Achieving a Flawless Finish:
Sanding and Smoothing:
A flawless finish requires meticulous sanding:
- Dust Control: Use dust extraction tools to keep the work area clean and maintain air quality.
- Multiple Passes: Sand each joint compound layer, starting with a coarser grit and progressing to a fine grit.
- Touch-ups: Inspect for any imperfections and address them before the final finish.
Final Inspection:
Before moving to the next stage, conduct a thorough inspection:
- Surface Smoothness: Ensure all surfaces are smooth and free of defects.
- Joint Quality: Check that all joints are seamless and well-blended.
- Alignment: Confirm that all edges and corners are straight and aligned.
Incorporating Advanced Techniques:
Soundproofing and Insulation:
For high-end homes, soundproofing is often a priority:
- Specialized Drywall: Use soundproof drywall panels in areas where noise reduction is essential.
- Resilient Channels: Install resilient channels to decouple the drywall from the studs, reducing sound transmission.
- Acoustic Sealants: Use acoustic sealants around the perimeter to prevent sound leaks.
Moisture and Mold Resistance:
In areas prone to moisture, take extra precautions:
- Moisture-Resistant Drywall: Use green board or other moisture-resistant drywall in bathrooms, kitchens, and basements.
- Mold-Resistant Products: Apply mold-resistant joint compounds and paints to protect against mold growth.
- Ventilation: Ensure proper ventilation in moisture-prone areas to reduce humidity levels.
Collaboration with Other Trades:
Coordinating with Designers and Architects:
Successful high-end projects require close collaboration with other professionals:
- Design Alignment: Work with designers and architects to ensure the drywall installation aligns with the overall design vision.
- Feedback Integration: Incorporate their input on aesthetics and functionality to meet client expectations.
- Regular Communication: Maintain regular communication to address any changes or issues promptly.
Synchronizing with Electrical and Plumbing:
Coordinate with electricians and plumbers to ensure a seamless integration of systems:
- Precise Cutouts: Make accurate cutouts for electrical outlets, switches, and plumbing fixtures.
- Concealing Systems: Plan the drywall installation to conceal wiring and pipes while allowing easy access for maintenance.
- System Protection: Protect installed systems during the drywall installation process to avoid damage.
The Finishing Touches:
Texturing and Painting:
The final appearance of drywall can be significantly enhanced with the right texturing and painting techniques:
- Custom Textures: Apply textures like smooth, knockdown, or custom designs to add visual interest.
- Priming: Use a high-quality primer to prepare the surface for painting, ensuring even coverage and color.
- Painting: Choose premium paints that provide a durable, attractive finish. Consider using multiple coats for depth and richness.
Detailing and Clean-Up:
Attention to detail is critical in high-end projects:
- Trim and Molding: Ensure all trim and molding are installed neatly and caulked properly.
- Final Touch-Ups: Address any minor imperfections or touch-ups needed after painting.
- Site Clean-Up: Conduct a thorough clean-up to leave the site immaculate, removing all debris and dust.
Showcasing Your Work:
Documenting the Process:
High-quality documentation can help showcase your expertise:
- Progress Photos: Take photos and videos at various stages of the project to highlight your process and craftsmanship.
- Portfolio: Create a portfolio featuring detailed case studies of your high-end projects to attract future clients.
Client Testimonials:
Satisfied clients can be your best advocates:
- Gather Testimonials: Ask clients for testimonials that highlight their satisfaction with your work.
- Online Reviews: Encourage clients to leave positive reviews online to build your reputation.

