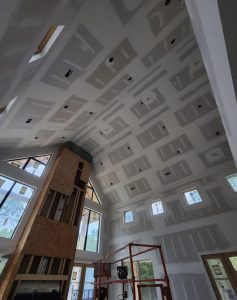
Drywall installation is a foundational aspect of finishing walls and ceilings in both residential and commercial spaces. In Victoria, where homes and buildings can range from historic to modern, the quality of drywall work can significantly impact the overall look and durability of a space. Despite its seemingly straightforward nature, drywall installation is fraught with potential pitfalls that can affect the final outcome. Here’s an in-depth look at common drywall installation mistakes and expert tips on how to avoid them.
1. Improper Measurement and Cutting
Mistake: Incorrect measurement and cutting of drywall can lead to gaps, uneven edges, and a poor fit, which can be both aesthetically displeasing and functionally problematic. This issue often arises from rushing the process or using inadequate measuring tools.
How to Avoid: To ensure accurate measurements, always use a reliable measuring tape and a drywall square or T-square. Measure each section of the wall or ceiling carefully, and double-check your measurements before cutting. When cutting larger sheets, score the drywall with a utility knife along a straightedge, then snap it along the scored line for a cleaner cut. For complex cuts around fixtures or corners, use a drywall saw or keyhole saw. Precision in cutting is crucial to avoid costly repairs and ensure a seamless drywall installation in Victoria.
Additional Tips: For particularly large areas, consider using a drywall lift to handle and position the sheets, which can make the process smoother and reduce the risk of measurement errors.
2. Inadequate Support for Drywall Sheets
Mistake: Failing to provide adequate support during drywall installation can cause the sheets to sag, shift, or become misaligned, leading to uneven surfaces and additional repair work.
How to Avoid: Use a drywall lift or enlist the help of a partner to hold the sheets in place while you fasten them. Ensure that the drywall is properly aligned with the studs or supports before securing it with screws. For horizontal installations, starting from the top and working your way down can help manage the weight and ensure proper alignment. In Victoria’s varying construction styles, ensuring the right support method is key for achieving a professional finish.
Additional Tips: For ceiling installations, ensure the drywall sheets are adequately supported along their edges and throughout their length to prevent sagging. Use temporary supports or braces if necessary.
3. Incorrect Screw Placement
Mistake: Placing screws too close to the edge of the drywall or missing studs can result in weak attachment points, leading to potential issues such as popping screws or unstable drywall panels.
How to Avoid: Space screws approximately 1.5 inches from the edge of the drywall and ensure they are driven into the center of the studs. Use a screw gun with an adjustable depth setting to avoid over-driving the screws, which can damage the drywall surface and lead to issues with the final finish. Proper screw placement is essential for a durable and stable drywall installation.
Additional Tips: Check the alignment of screws periodically to ensure they are consistently placed and flush with the drywall surface. This helps in achieving a smooth finish and reduces the need for extensive repairs.
4. Over-Taping or Under-Taping Joints
Mistake: Applying too much or too little joint tape and compound can lead to visible seams, cracking, or an uneven surface. This is a common issue for both DIY enthusiasts and professionals who may not pay sufficient attention to the taping process.
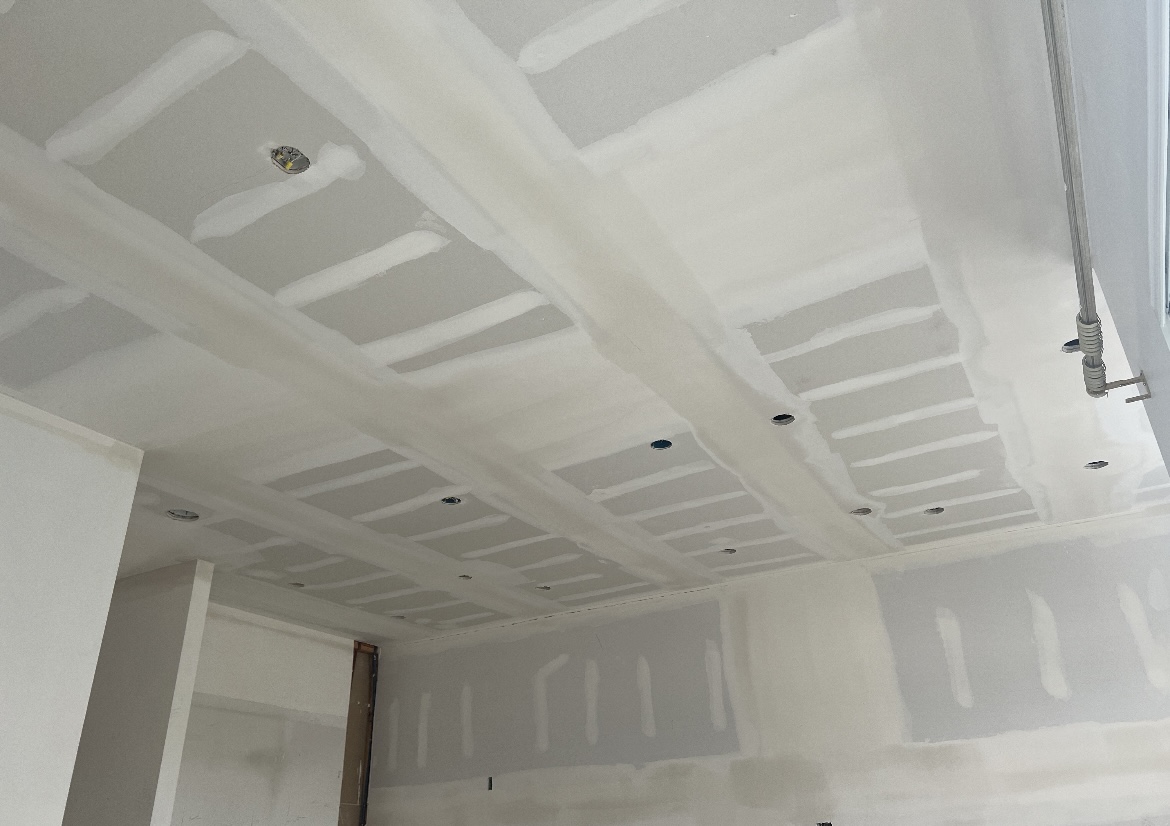
How to Avoid: Apply a thin, even layer of joint compound (mud) to the joints, and embed the tape into the compound gently. Smooth out the tape and compound using a taping knife to remove air bubbles and wrinkles. Apply additional layers of compound as needed, allowing each layer to dry completely before applying the next. Sand the dried compound between coats to achieve a smooth, seamless finish. Proper taping and mudding techniques are crucial for a flawless drywall finish.
Additional Tips: Use a wide taping knife for the initial coat to cover a larger area and reduce the number of visible seams. For the final coat, use a narrower knife to smooth out any remaining imperfections.
5. Neglecting Proper Drywall Compound Application
Mistake: Applying drywall compound unevenly or failing to allow sufficient drying time between coats can result in visible flaws, imperfections, and a rough surface that is challenging to paint.
How to Avoid: Apply joint compound in thin, even layers and let each layer dry completely before applying the next. Use a sanding block or sponge to smooth out each layer and achieve a seamless finish. Ensuring that each layer is adequately dried and sanded helps to prevent issues with the final appearance of the drywall.
Additional Tips: If the compound is drying too slowly or unevenly, consider using a dehumidifier or adjusting the room’s temperature to promote faster and more uniform drying.
6. Ignoring Moisture Concerns
Mistake: Installing drywall in areas with high moisture without using moisture-resistant drywall can lead to mold and mildew issues, which can compromise the integrity of the drywall and affect indoor air quality.
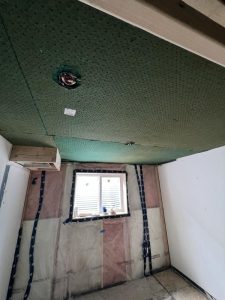
How to Avoid: Use moisture-resistant drywall, often referred to as green board, in areas prone to high humidity, such as bathrooms, kitchens, and laundry rooms. Ensure proper ventilation and moisture control in these areas to prevent mold growth and extend the life of the drywall.
Additional Tips: In extremely humid environments, consider using cement board or other specialized materials designed for high-moisture areas. Additionally, applying a moisture-resistant primer and paint can further protect the drywall.
7. Failing to Account for Electrical and Plumbing Fixtures
Mistake: Not accounting for electrical outlets, switches, or plumbing fixtures during drywall installation can lead to difficulties and damage when fitting around these features.
How to Avoid: Measure and mark the locations of electrical outlets, switches, and plumbing fixtures before cutting the drywall. Use a drywall saw or keyhole saw to make precise cuts around these fixtures, ensuring a proper fit and reducing the risk of damage to the drywall or the fixtures themselves.
Additional Tips: Double-check the locations of fixtures before cutting, as improper placement can lead to alignment issues. Use a stud finder to locate and mark the positions of studs and fixtures behind the drywall.
8. Overlooking Proper Sanding
Mistake: Inadequate sanding can leave visible imperfections and a rough surface that is difficult to paint, detracting from the overall quality of the drywall installation.
How to Avoid: Sand drywall surfaces between each coat of joint compound and after the final coat to achieve a smooth, even finish. Use fine-grit sandpaper and a sanding block or pole sander for best results. Proper sanding techniques help to create a flawless surface ready for painting.
Additional Tips: To reduce dust during sanding, consider using a vacuum-assisted sander or attaching a dust collection system to your sanding equipment. Clean the surface thoroughly before applying paint.
9. Not Following Manufacturer’s Recommendations
Mistake: Using drywall products or techniques that do not align with manufacturer guidelines can affect the durability and appearance of the finished drywall, leading to issues such as poor adhesion or premature failure.
How to Avoid: Always follow the manufacturer’s instructions for drywall, joint compounds, and other related materials. This includes adhering to recommended application methods, drying times, and finishing techniques. Following these guidelines ensures that the drywall installation meets industry standards and performs well over time.
Additional Tips: Keep up-to-date with any product updates or changes in recommendations by checking the manufacturer’s website or consulting with a professional.
Conclusion
By understanding and addressing these common drywall installation mistakes, you can significantly enhance the quality of your drywall projects in Victoria. Proper preparation, precise techniques, and attention to detail are key to achieving a professional finish. Whether you’re handling a residential renovation or a commercial installation, avoiding these pitfalls will ensure that your drywall looks great and performs well for years to come. With careful planning and execution, you can achieve flawless results and maintain the high standards expected in the drywall industry.

