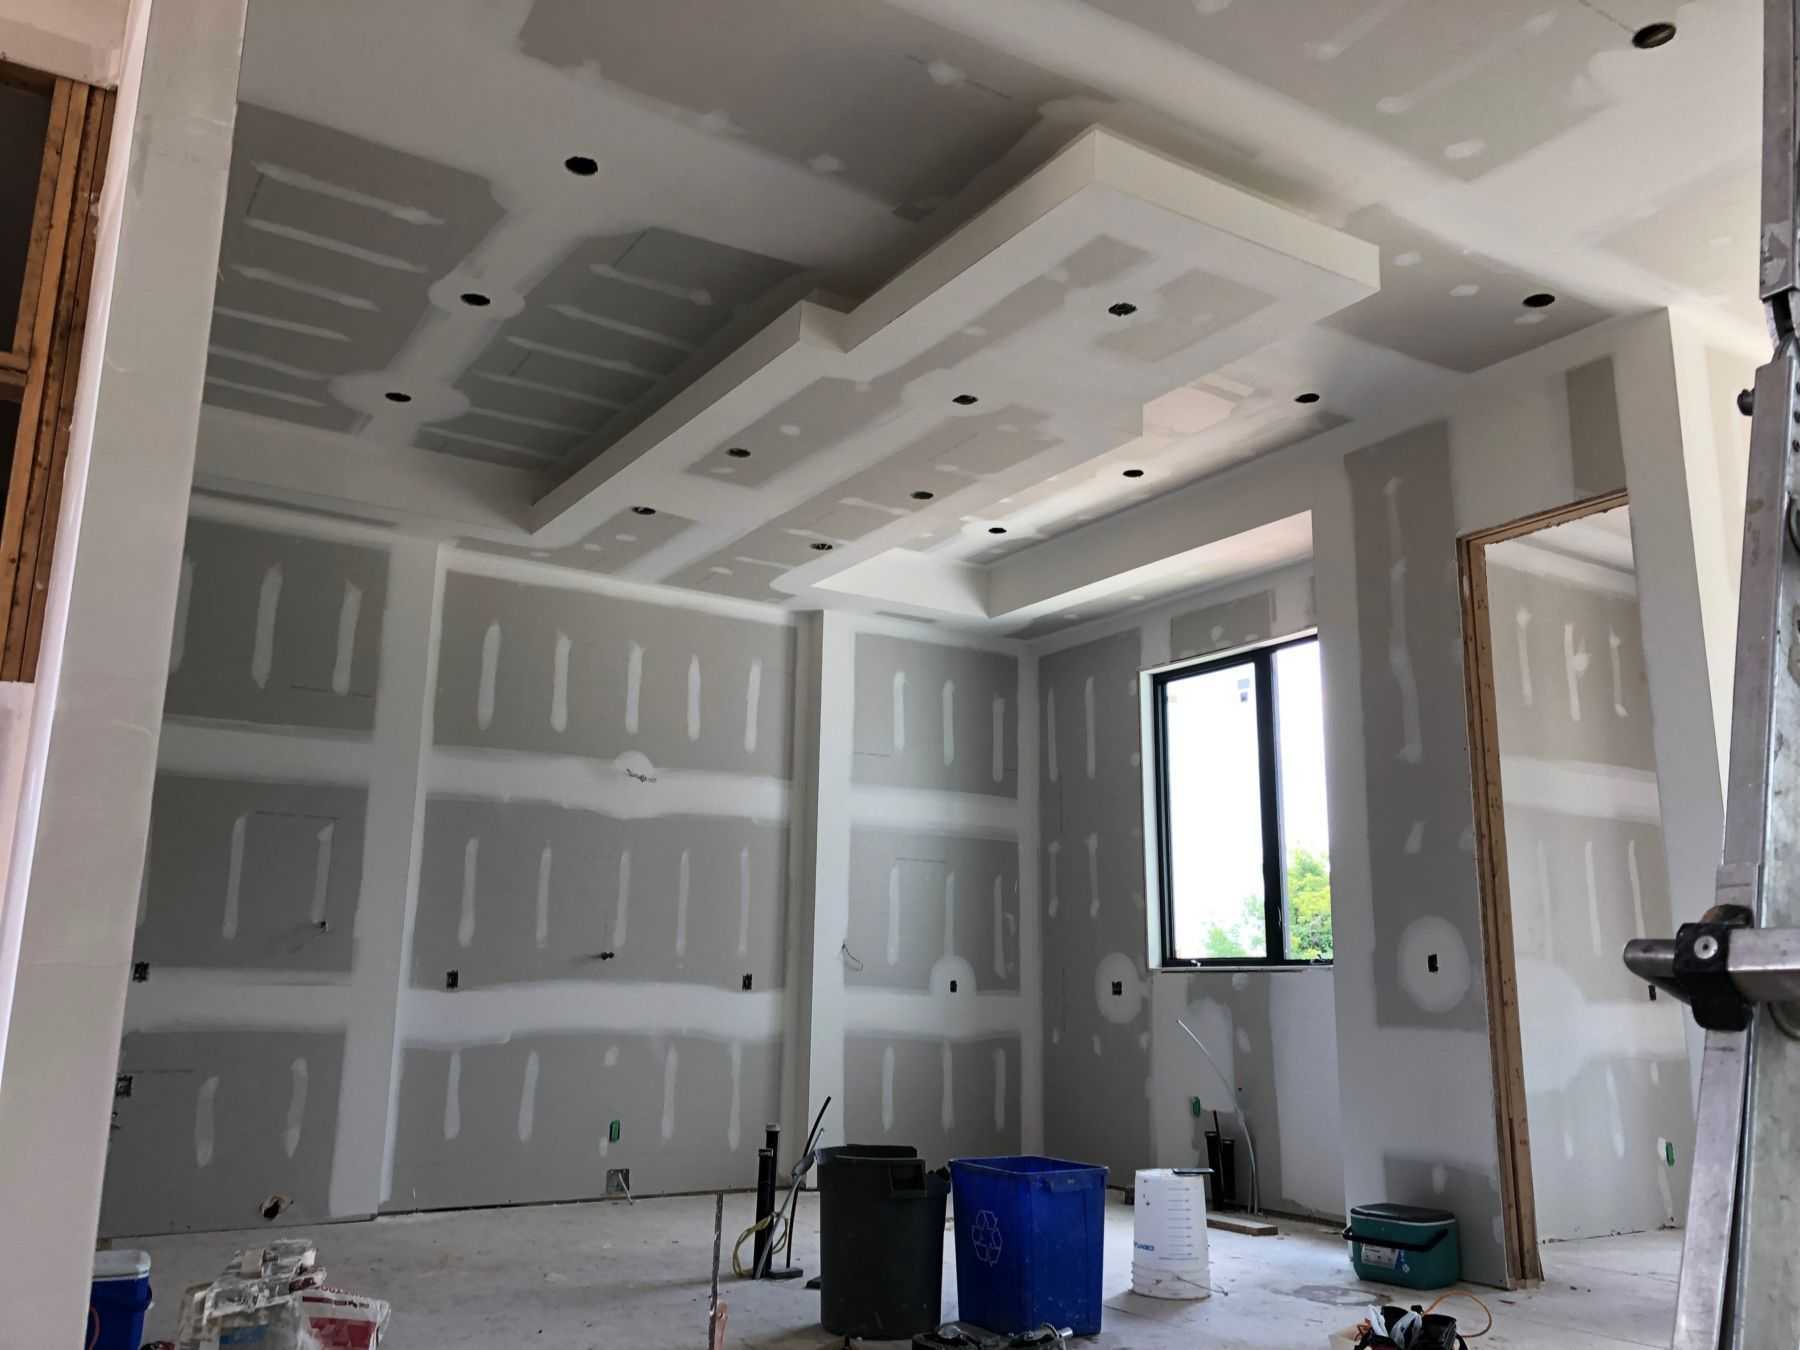
When it comes to creating flawless walls and ceilings, professional drywall installation stands at the forefront of interior finishing. In Victoria, BC, where the architectural styles range from modern minimalism to classic heritage homes, quality drywall work is essential to achieve a polished and enduring finish. Whether you’re constructing a new building or renovating an existing space, this comprehensive guide will delve into the intricacies of drywall installation, mudding, taping, and finishing techniques. By understanding each step of the process, you’ll appreciate the craftsmanship that goes into creating the perfect interior.
Why Drywall is the Top Choice for Interior Walls and Ceilings
Drywall, also known as gypsum board, plasterboard, or sheetrock, has revolutionized the way we build interior spaces. Its popularity stems from its cost-effectiveness, ease of installation, and adaptability to different design aesthetics. In a city like Victoria, BC, where environmental consciousness is also important, drywall offers an eco-friendly option due to its recyclable nature and energy-efficient properties.
Key benefits of drywall include:
- Affordability: Drywall is a cost-effective material, making it accessible for projects of all sizes.
- Ease of Installation: Compared to traditional plaster, drywall is quicker and easier to install.
- Versatility: Drywall can be finished in a variety of textures or kept smooth, depending on the desired aesthetic.
- Fire Resistance: Many types of drywall offer added fire resistance, enhancing safety in residential and commercial buildings.
- Soundproofing: Specialized drywall options can improve sound insulation, making it ideal for reducing noise between rooms.
The Drywall Installation Process: Step-by-Step
Successful drywall installation requires attention to detail and a methodical approach. Here’s a step-by-step breakdown of the process:
1. Planning and Preparation
Before any drywall sheet is cut or installed, thorough planning is essential. This involves assessing the dimensions of the space, determining the number of sheets required, and identifying any special considerations such as curved walls, vaulted ceilings, or existing structural elements. In Victoria’s diverse housing market, each project may present unique challenges that require customized solutions.
2. Measuring and Cutting Drywall Sheets
Accurate measurement is the foundation of a successful drywall installation. Drywall sheets, typically available in 4×8 feet dimensions, must be measured and cut to fit precisely within the wall or ceiling space. For larger areas, 4×12 feet sheets are often used to minimize the number of seams. In cases where walls are non-standard or feature unique architectural elements, precise cutting ensures a snug fit and reduces the need for excessive mudding and taping.
3. Securing Drywall to Studs
Once the drywall sheets are cut to size, they are attached to the wall or ceiling studs using drywall screws or nails. It’s critical to ensure that the sheets are flush with the studs and that the screws are driven just below the surface of the drywall without tearing the paper face. In Victoria, where seismic activity is a consideration, proper fastening is particularly important to prevent damage in the event of an earthquake.
4. Mudding: The Key to Seamless Walls
Mudding, or applying joint compound, is one of the most important steps in the drywall process. The first coat of mud is applied over the seams between drywall sheets and over the screw holes. This initial coat is relatively thin and serves as the base for subsequent layers. In this step, it’s essential to apply the mud smoothly and evenly to avoid creating ridges or uneven surfaces.
5. Taping: Reinforcing the Seams
After the first coat of mud is applied, drywall tape is embedded into the compound along the seams. There are two main types of drywall tape: paper and mesh. Paper tape is preferred by many professionals for its strength and smooth finish, while mesh tape is self-adhesive and easier to work with in certain situations. Taping reinforces the seams, preventing cracks and ensuring a smooth, continuous surface.
6. Applying Additional Coats of Mud
Once the tape is in place, additional coats of joint compound are applied. Each subsequent coat is spread wider than the last, feathering out the edges to blend seamlessly with the drywall surface. Typically, three coats are applied, with each layer being allowed to dry completely before the next is added. In Victoria, where humidity levels can vary, it’s important to monitor drying times to ensure the mud sets properly.
7. Sanding: Achieving a Flawless Finish
Sanding is the final step in the drywall finishing process and is crucial for achieving a smooth surface. After the final coat of mud has dried, the walls are sanded using fine-grit sandpaper or a sanding pole. This step removes any imperfections, such as ridges or bumps, leaving the wall ready for priming and painting. In Victoria’s real estate market, where attention to detail can significantly impact property value, a flawless sanding job is non-negotiable.
Advanced Drywall Techniques: Texturing and Soundproofing
Beyond basic installation, many homeowners in Victoria opt for advanced drywall techniques to enhance the functionality and aesthetic appeal of their spaces.
Texturing
Texturing adds character and depth to walls and ceilings. Popular texture styles include:
- Orange Peel: A subtle, bumpy texture that resembles the skin of an orange.
- Knockdown: A flattened texture achieved by applying a splatter coat of mud and then knocking it down with a trowel.
- Popcorn: Often used on ceilings, this textured finish helps hide imperfections but has become less popular in recent years.
- Smooth Finish: For a sleek, modern look, many homeowners opt for a smooth, flat finish that can be painted in any color.
Soundproofing
In urban areas like Victoria, soundproofing is a significant concern, particularly in multi-family dwellings or homes close to busy streets. Specialized drywall options, such as soundproof drywall or adding additional layers of standard drywall, can greatly reduce noise transmission between rooms or from outside sources. Techniques like staggered stud construction and the use of resilient channels further enhance soundproofing capabilities.
Choosing the Right Drywall Contractor in Victoria, BC
With so many nuances involved in drywall installation, choosing the right contractor is crucial. A professional drywall installer in Victoria should have a deep understanding of local building codes, climate considerations, and the specific needs of the project. Look for contractors who offer:
- Experience: An established track record of successful projects in Victoria.
- Attention to Detail: A commitment to delivering a seamless, professional finish.
- Customer Service: Clear communication, transparent pricing, and a focus on client satisfaction.
- Quality Materials: The use of high-quality drywall, joint compounds, and tapes to ensure durability and longevity.
Conclusion: Investing in Professional Drywall Services
Drywall installation may seem straightforward, but achieving a professional finish requires skill, precision, and experience. In Victoria, BC, where homes range from modern condos to century-old houses, a well-executed drywall job can dramatically improve the look and feel of your space. Whether you’re renovating a single room or building an entire house, investing in professional drywall services ensures that your walls and ceilings will stand the test of time.
By choosing a reputable drywall contractor, you’ll benefit from expert craftsmanship, efficient project management, and a finished product that adds value to your home. In a city as beautiful and diverse as Victoria, your walls deserve nothing less than the best.


