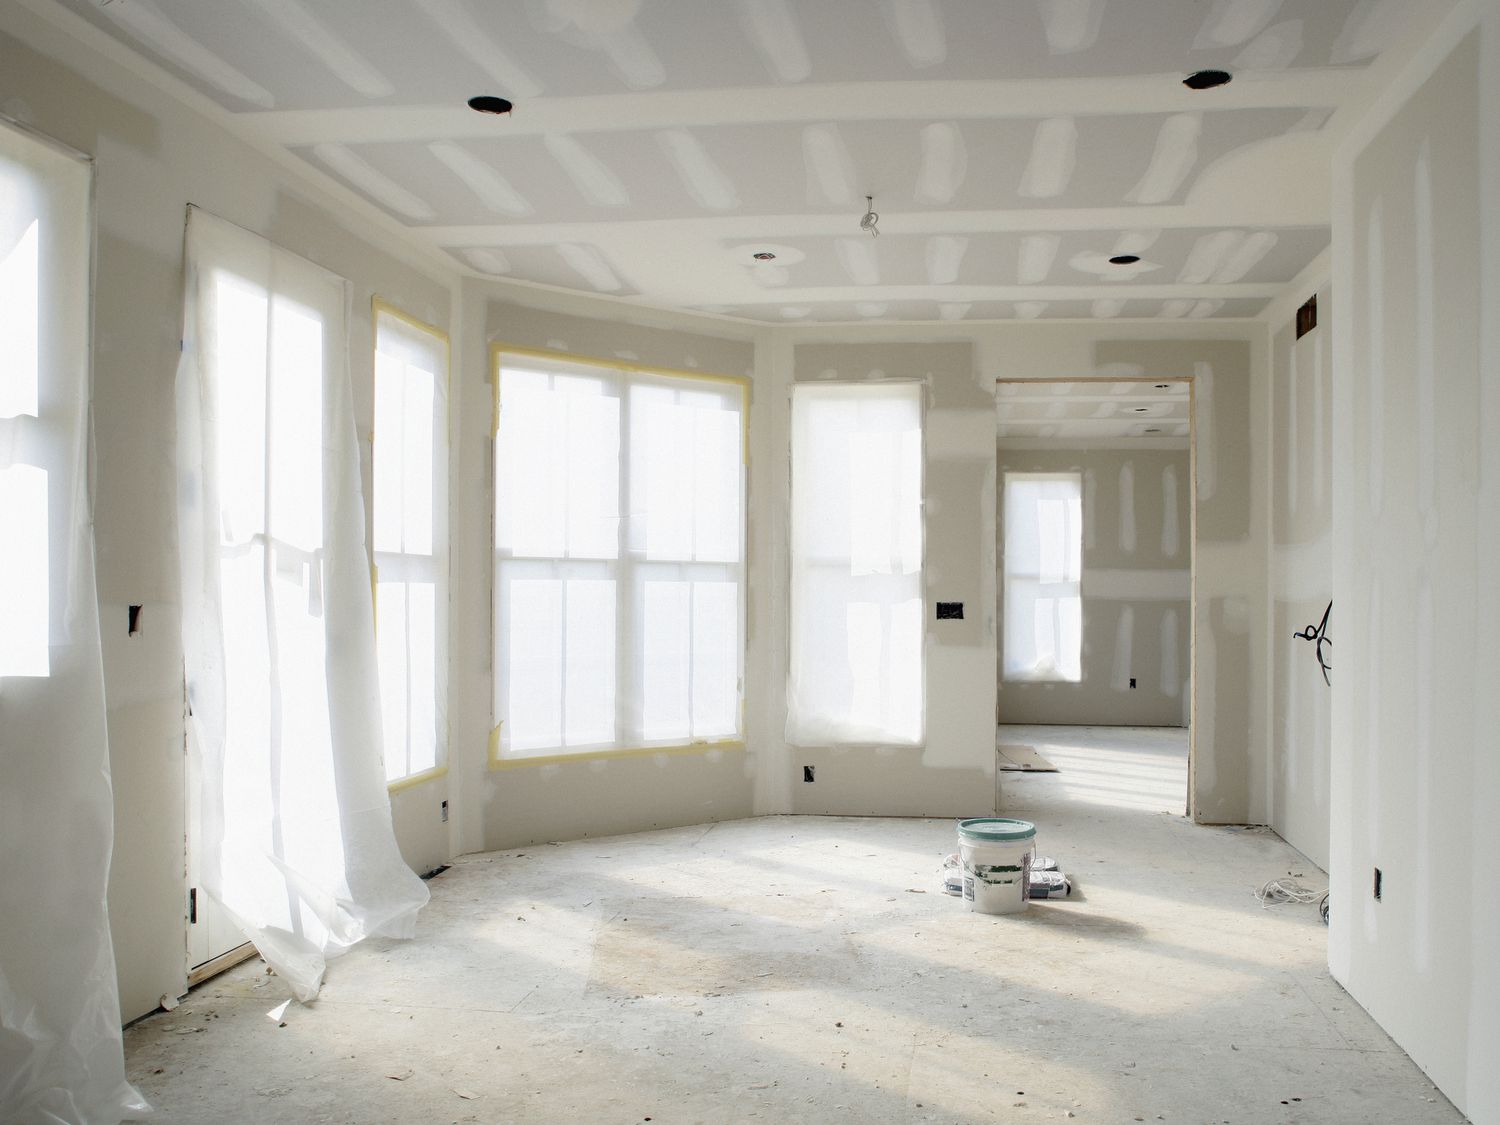
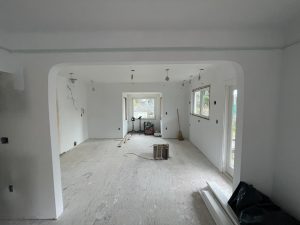
- Poor Measurement and Planning: Accurate measurement and meticulous planning are essential prerequisites for a successful drywall installation project. Inaccurate measurements can lead to wastage of materials, unnecessary joints, and uneven wall surfaces. Before cutting any drywall sheets, take precise measurements of the walls and ceilings, considering doorways, windows, and other architectural features.
To minimize errors, create a detailed layout plan indicating the placement of each drywall sheet and any necessary cutouts for electrical outlets, switches, and plumbing fixtures. Double-check measurements and calculations to ensure they are correct before proceeding with cutting the drywall. Investing time in thorough measurement and planning upfront can save you significant headaches later in the project.
- Improper Handling and Transport: Drywall sheets are fragile and susceptible to damage if mishandled during transportation and installation. Improper handling can result in cracks, breaks, or warped panels, compromising the integrity and appearance of the finished walls. When transporting drywall sheets, avoid leaning or bending them excessively, as this can cause them to snap or buckle under pressure.
To minimize the risk of damage, use proper lifting techniques when moving drywall sheets, ensuring even weight distribution and support along the entire length. Consider using drywall carts or dollies to safely transport and position the sheets, especially in larger projects where multiple sheets are involved. Additionally, store drywall sheets in a dry, flat, and well-ventilated area to prevent moisture absorption and warping.
- Neglecting to Check for Plumbing and Electrical Obstacles: Failure to account for plumbing and electrical obstacles behind the walls before installing drywall can lead to costly mistakes and delays. It’s essential to thoroughly inspect the wall cavities to identify the location of electrical wiring, plumbing pipes, and fixtures, ensuring they are properly installed and positioned according to building codes and specifications.
Before hanging drywall, make any necessary cutouts or channels to accommodate electrical outlets, switches, light fixtures, and plumbing fixtures without compromising their functionality or safety. Use a stud finder or blueprints to locate studs, joists, and other structural elements, marking their positions on the walls and ceilings to guide the installation process. Taking the time to address plumbing and electrical obstacles beforehand can prevent unnecessary damage to drywall and ensure a smooth installation process.
- Inadequate Fastening: Proper fastening is crucial for ensuring the stability and longevity of drywall installations. Inadequate or improper fastening can result in sagging, bulging, or loose panels over time, detracting from the overall quality and appearance of the finished walls. When securing drywall sheets to the framing members, use the appropriate type and size of screws or nails recommended for drywall installation.
Drive fasteners flush with the surface of the drywall without breaking the paper face, ensuring they are evenly spaced along the studs or joists according to building codes and manufacturer guidelines. Pay special attention to securing the edges and corners of the drywall sheets, as these areas are prone to cracking and damage if not adequately supported. Consider using adhesive in conjunction with fasteners to enhance the bond between the drywall and framing members, especially in high-stress areas such as ceilings.
- Skipping Proper Joint Preparation: Achieving a smooth and seamless finish on drywall surfaces requires proper joint preparation and finishing techniques. Neglecting to prepare joints correctly can result in visible seams, cracks, or uneven surfaces that detract from the overall aesthetic appeal of the walls. Before applying joint compound, tape, and corner bead, ensure that the drywall seams are clean, dry, and free of debris.
Begin by embedding paper or fiberglass mesh tape into the joints, applying a thin layer of joint compound over the tape to create a smooth transition between adjacent drywall sheets. Use a drywall knife to feather the edges of the joint compound, blending it seamlessly with the surrounding surface. Allow the first coat to dry completely before applying additional coats of joint compound, sanding between coats to achieve a smooth and uniform finish.
Pay special attention to inside and outside corners, using metal or vinyl corner bead to reinforce and protect these vulnerable areas from damage. Apply joint compound along the edges of the corner bead, feathering it outwards to create a seamless transition between the bead and the drywall surface. Sand the joints smooth after the final coat of joint compound has dried, ensuring a flawless finish that is ready for priming and painting.
Avoiding common mistakes is essential for achieving professional-quality results when installing drywall. By adhering to best practices and paying attention to detail throughout the installation process, DIYers and professionals can ensure that their drywall projects are structurally sound, visually appealing, and built to last. Whether you’re renovating a room or constructing a new home, following the guidelines outlined in this comprehensive guide will help you avoid costly errors and achieve success in your drywall installation endeavors.

